There are many benefits of having a source control. With source control we can check the history of a file, who and when modified a file, what was a reason for a change and which files changed together. Also with tags we can track important milestones.
Git is one of the most popular version control system, and Sourcetree is one of the tools that provide a visual interface and make it easier to work with Git.
In this article we will see how we can git rebase using Sourcetree. Rebase as opposed to merge can lead to a more readable git history.
Let’s start by creating a Swift project and make sure you select to create a git repository .
![]()
Now let’s open the Sourcetree and tap on the local tab and then after scan a directory select the project you just created.

We notice that there is only one branch (master) currently in the repository.
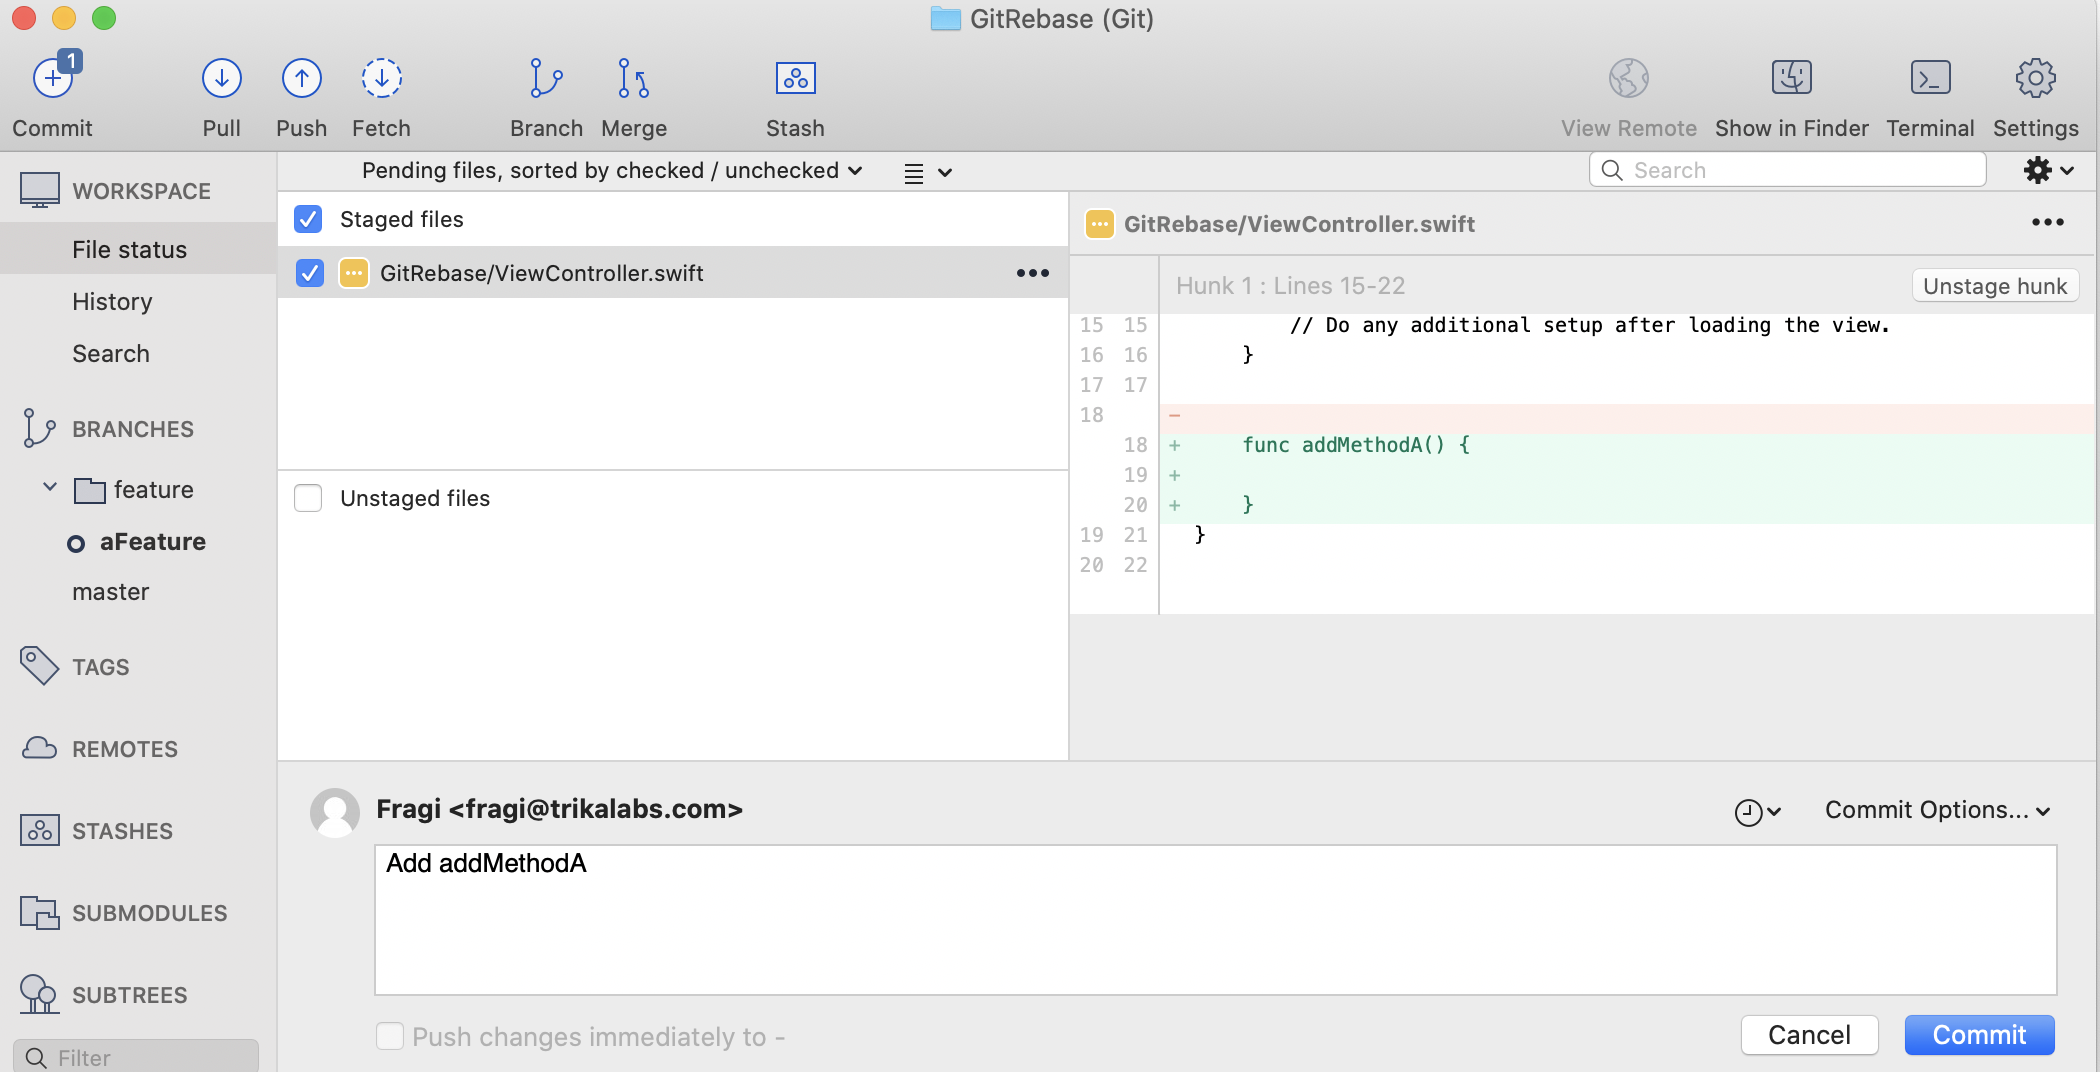
By tapping on the branch button we can create a new branch, name it feature/aFeature.
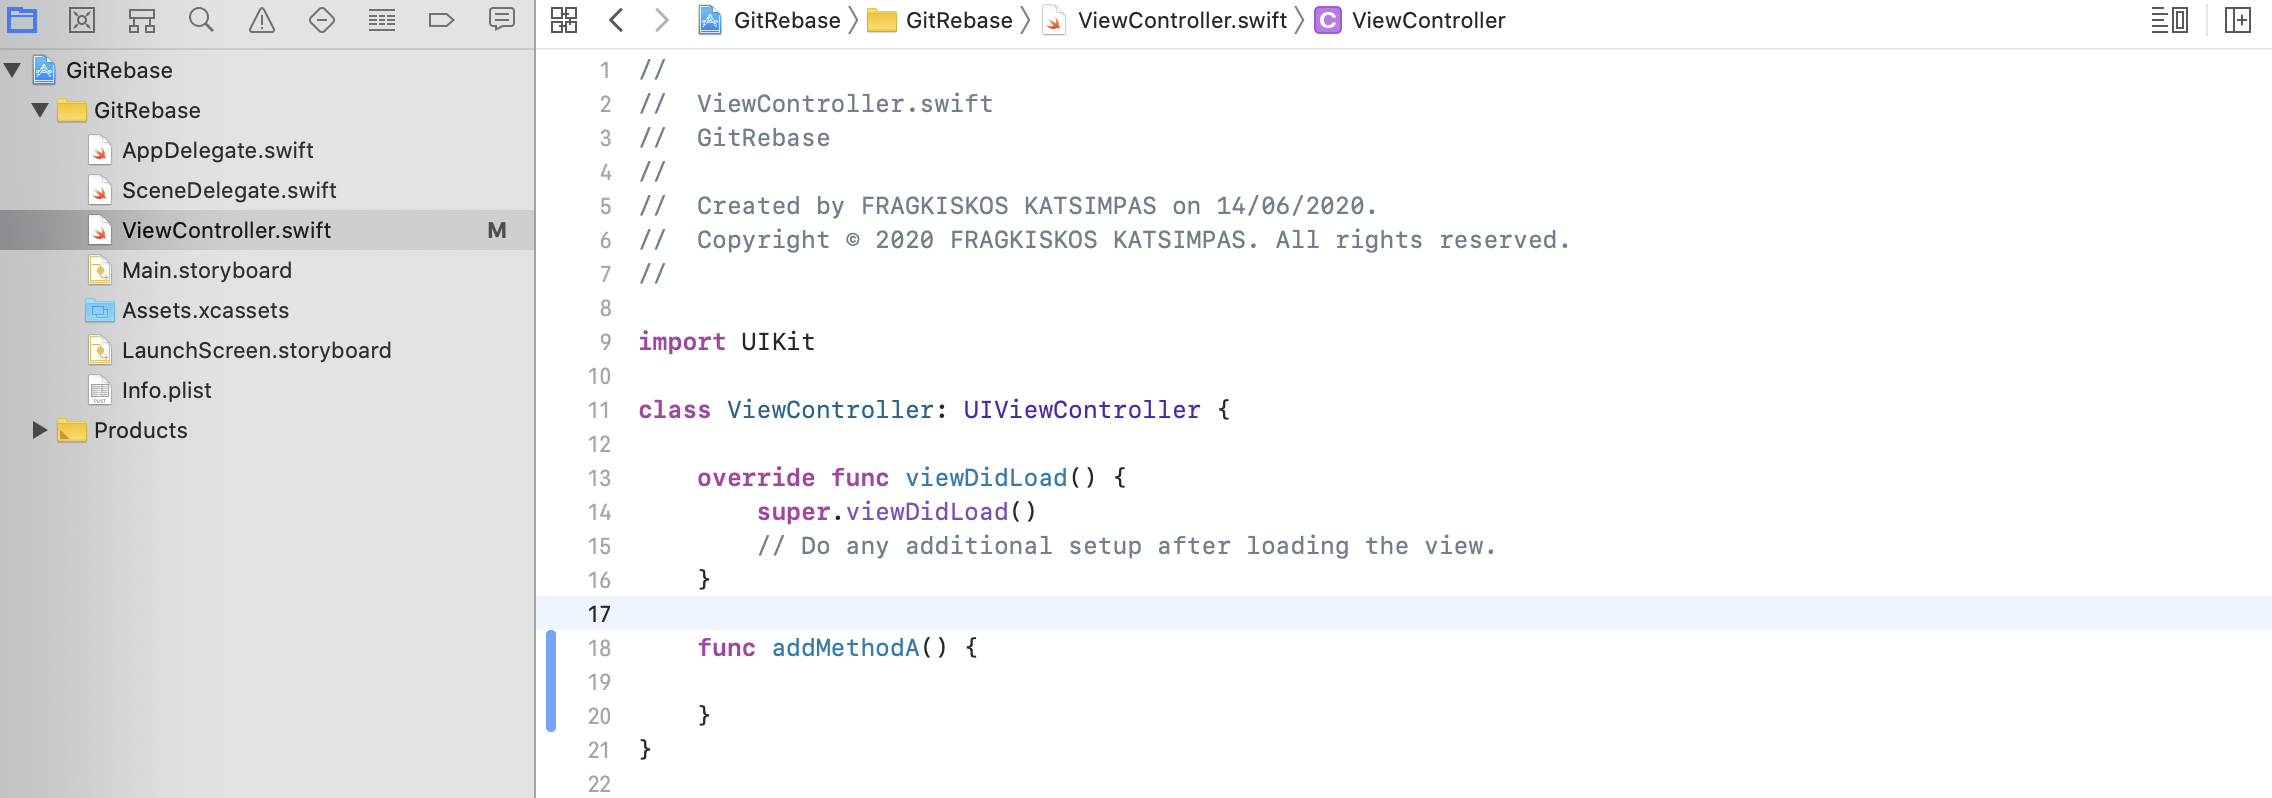
Now let’s do a simple change and commit the changes.
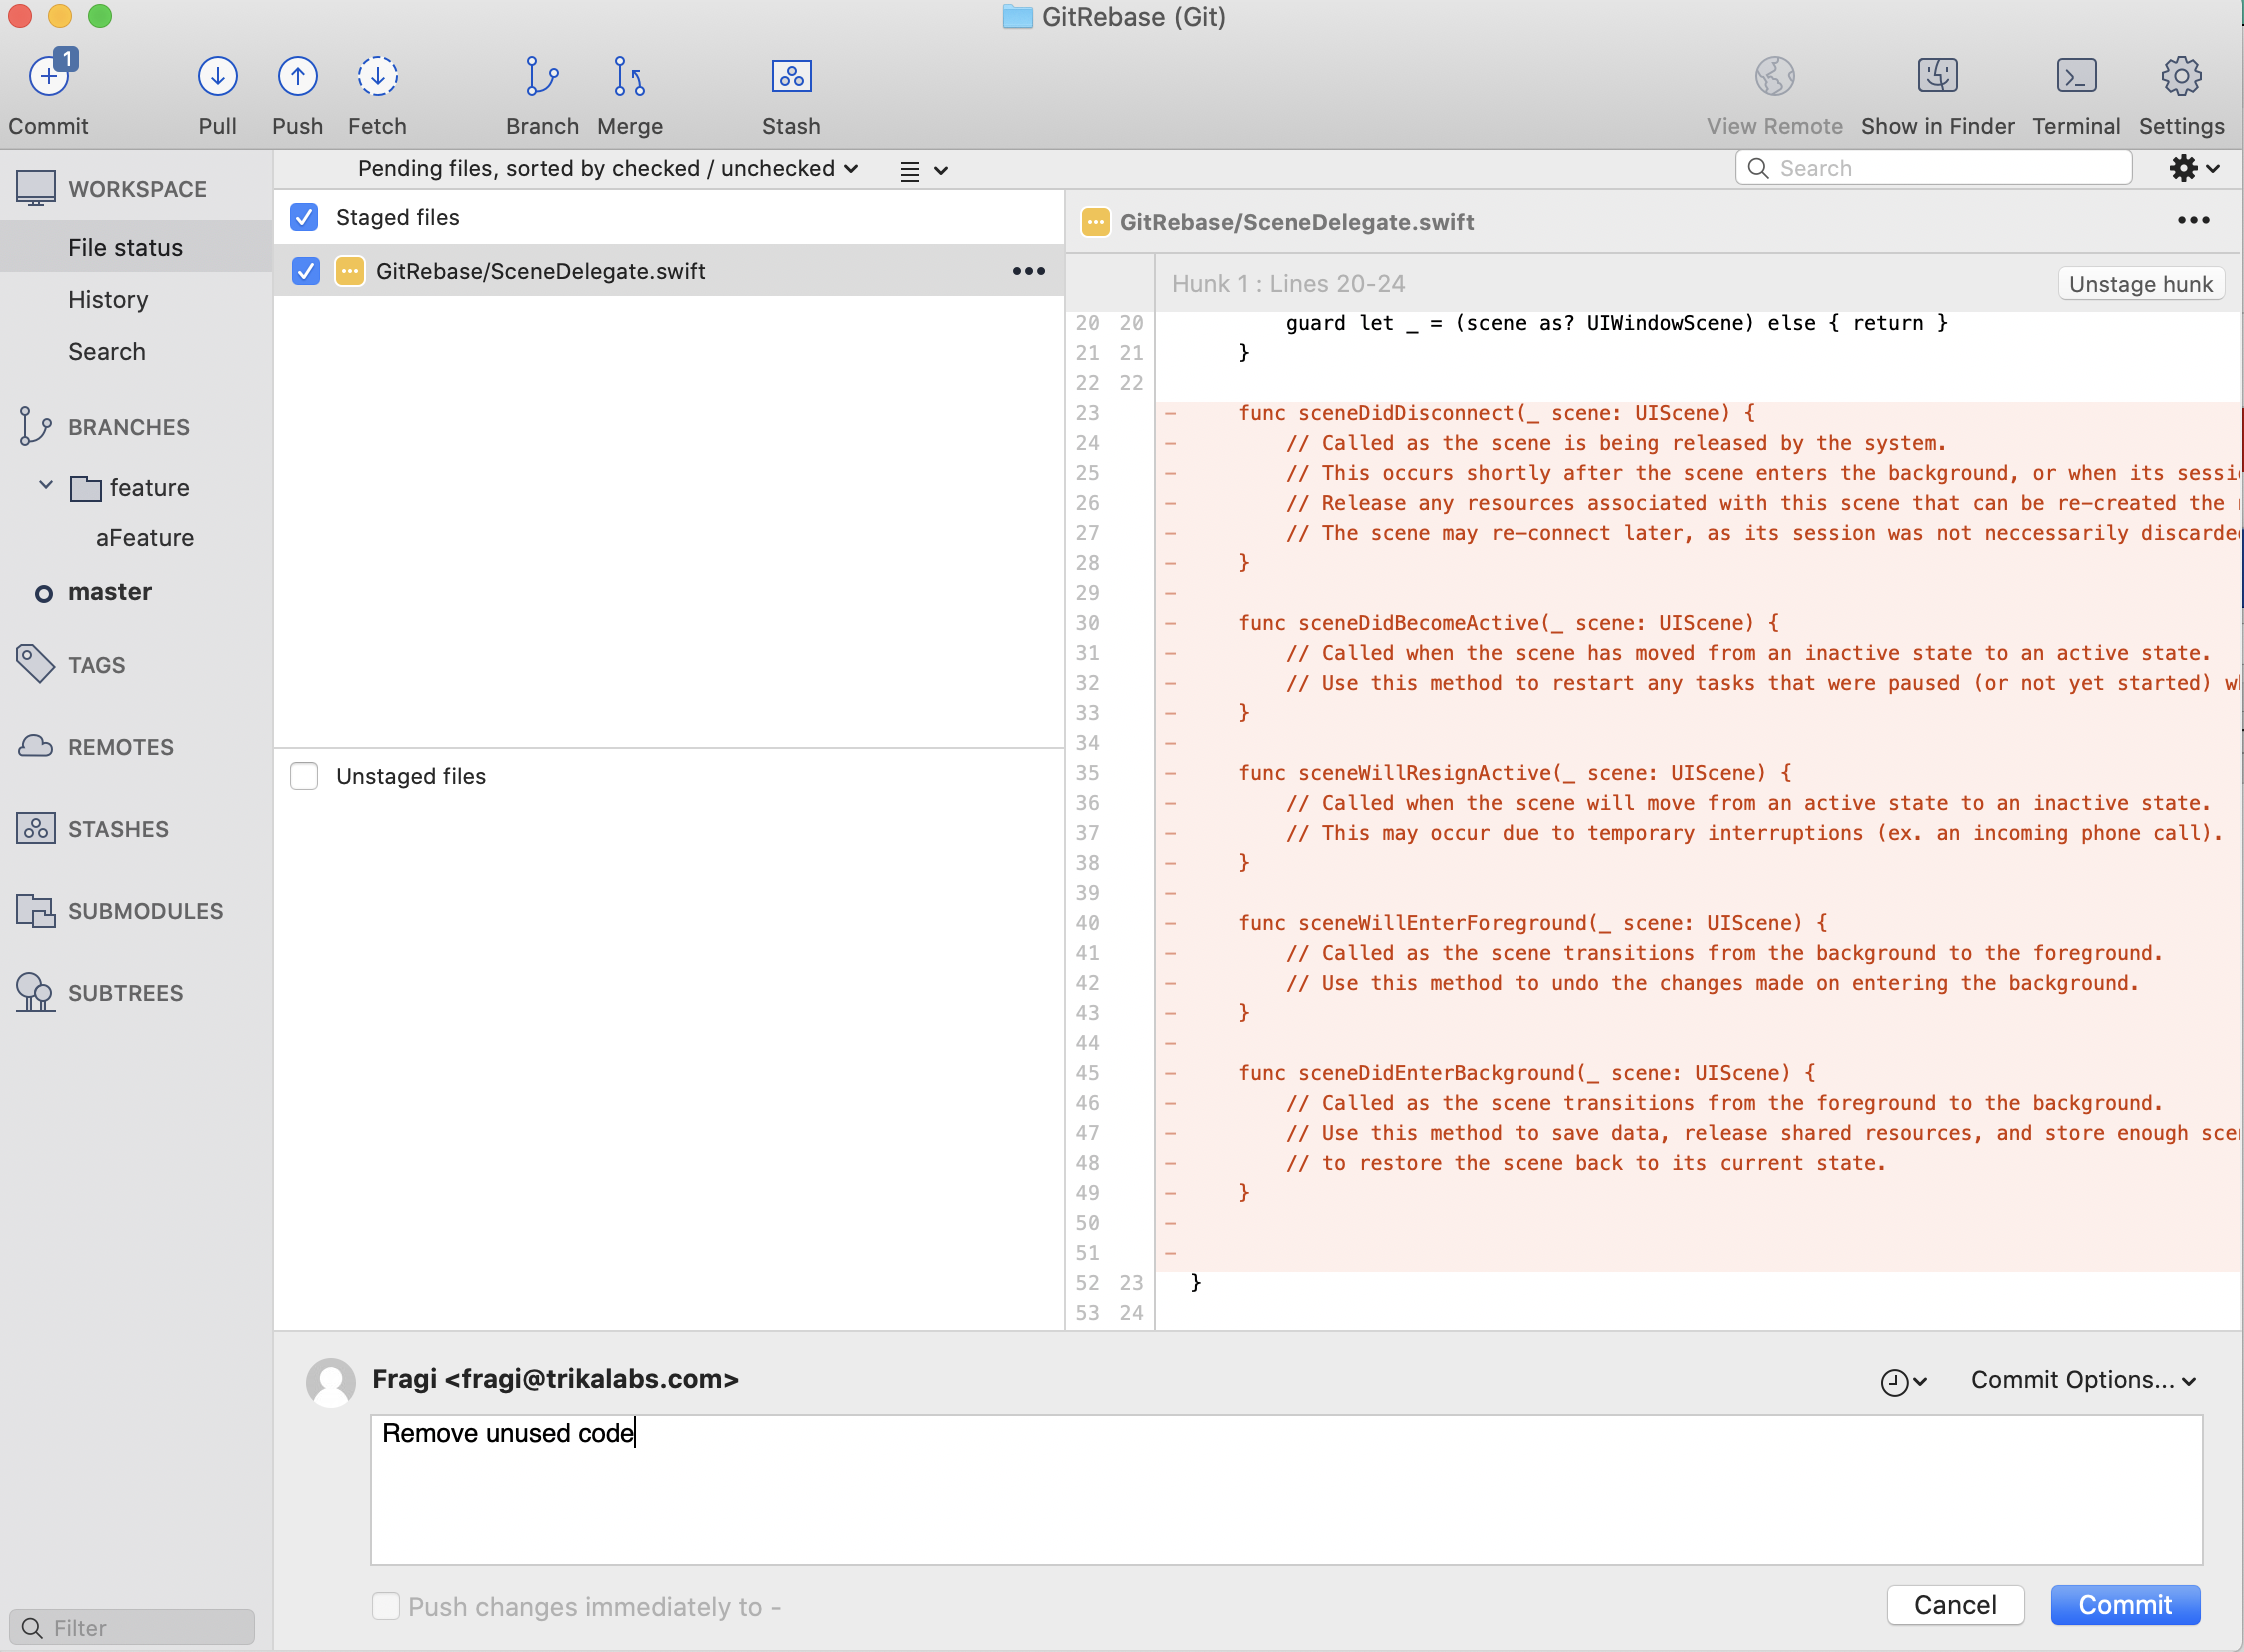
Now let’s checkout the master branch and commit also a change
So far the git tree looks like this:

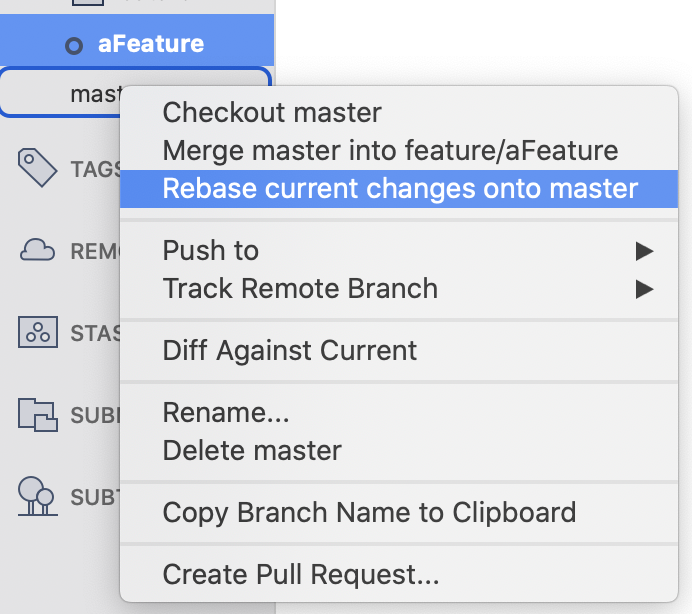
Let’s now rebase the feature branch on to master. Firstly let’s checkout on to the feature branch, then right click on the master branch and select rebase current changes onto master.
Now the git tree looks like this:

One clean stream of commits!
Worth notice that the commits from master although happened after the commit of the feature branch, after the rebase all commits of master are showing before all the commits of the feature branch.


