In this article, I will demonstrate how to write an Acceptance Test for our Clean Architecture example.
For more information on Clean Architecture, please see the following article: http://trikalabs.com/clean-architecture/.
To create our Acceptance Test, we will use the FitNesse. For more information about FitNesse, please see the following article: http://trikalabs.com/acceptance-tests-with-fitnesse/.
If you would prefer to follow the below steps whilst practising them in the Xcode, please refer to the following repo: https://github.com/Fragki/OddOrEven-FitNesse. Then simply create a branch from the Tag 2.0, in which I have already created the OddOrEven project and the FitNesse setup.
A Step by Step Guide
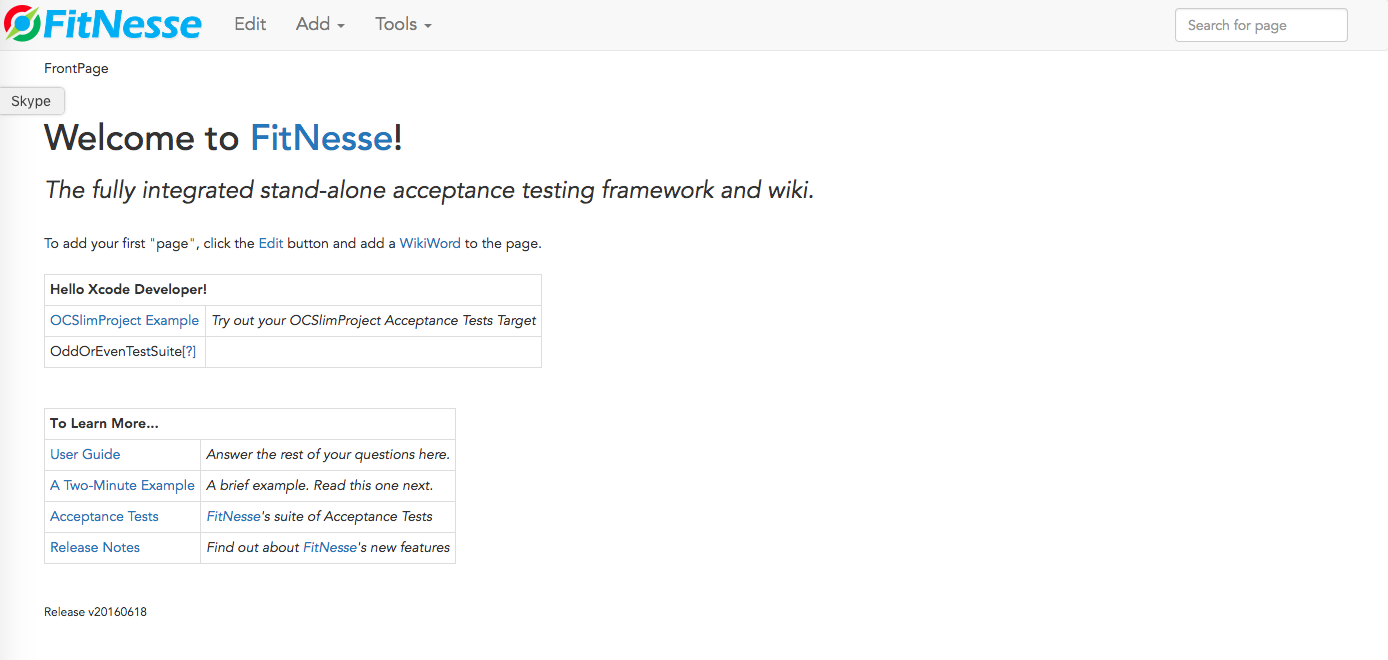
First, run the FitNesse programme. Go to the terminal and navigate to the folder with the code. Now run the command ./LaunchFitnesse.

This should open the below browser on the FitNesse front page.

Now let’s create our Test Suite. Click Edit on the top bar then move the cursor to the end of the text “Test Target”, as shown in the screenshot below.

Tap enter to create another row. Then write OddOrEvenTestSuite and tap save. This will show the following screen:
Then type in a question mark after the text just entered (“OddOrEvenTestSuite”) and tap save on the screen.
Perfect, now we should be able to see our Test Suite Page. It is empty so far, but we shall fill it in soon with our Test Page.
Let’s now create a Test Page. Tap add from the top menu and select Test Page. Label the file “OddOrEvenUseCaseTestPage” and tap save.
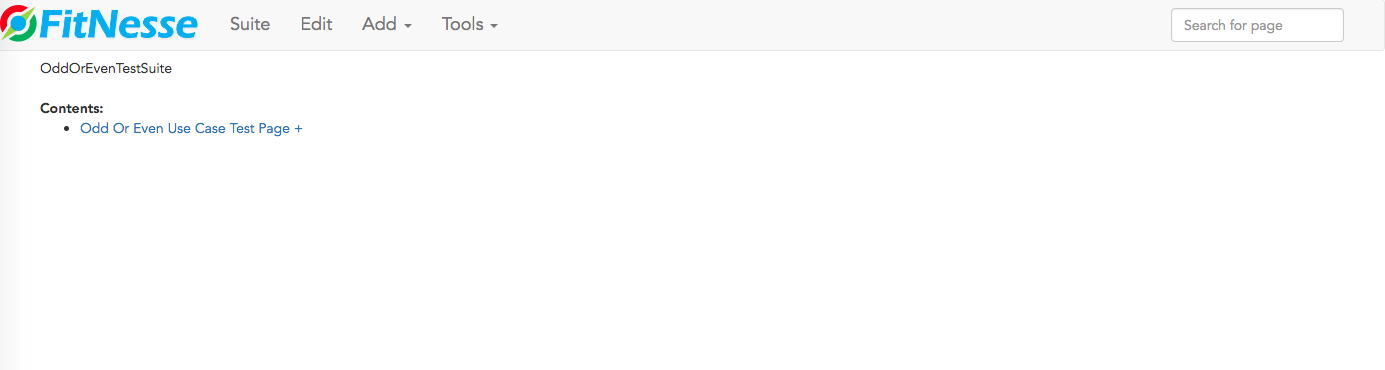
We can now see that our Test Suite has one Test Page. Let’s tap on it and create the list of our Acceptance Tests.
Select edit from the top bar and then create the following table.
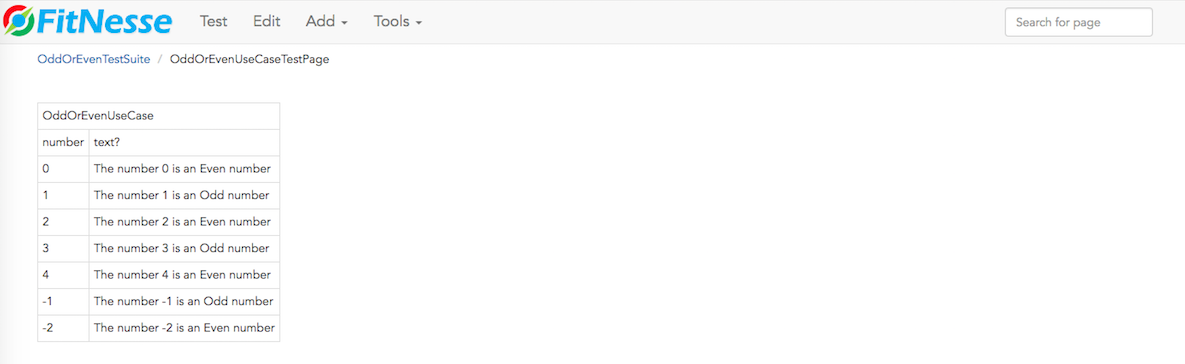
The syntax of the array is written in a format that can be understood by the FitNesse framework. Specifically, the first line is the name of the Swift Class, so we should give our Acceptance Test Class the name: “OddOrEvenUseCase”.
The second line is the input “number” and the output “text?”. The symbol “?” is used to specify that this is an output.
The rest lines represent what should be the text for a specific input.
If we tap the Test button we will see a lot of errors.
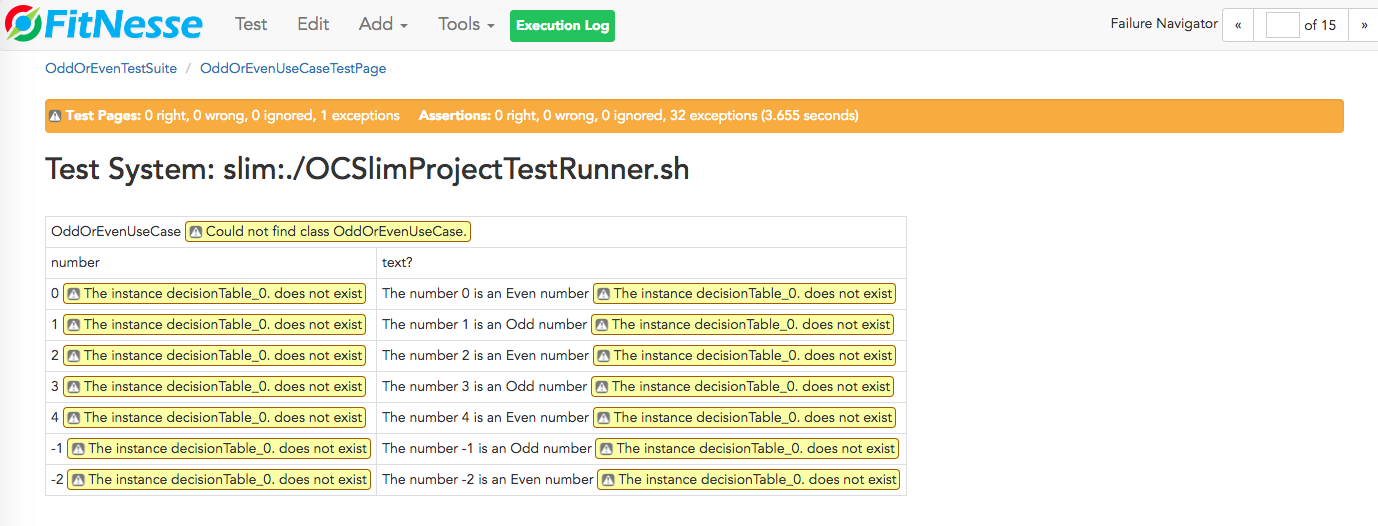
This is because we haven’t written any Acceptance Tess on the Xcode project yet. Let’s create the “OddOrEvenUseCase” on the Xcode project.
When that is done fill it with the content as shown in the following screenshot.
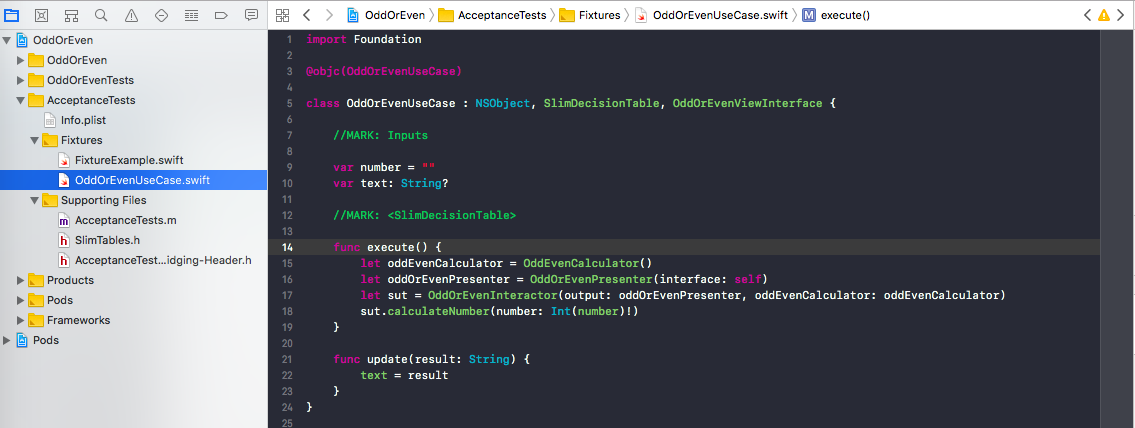
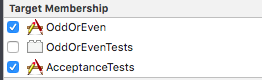
Make sure that the classes OddOrEvenViewInterface, OddOrEvenInteractor, OddOrEvenPresenter, OddEvenCalculator are also available on the Acceptance Tests.
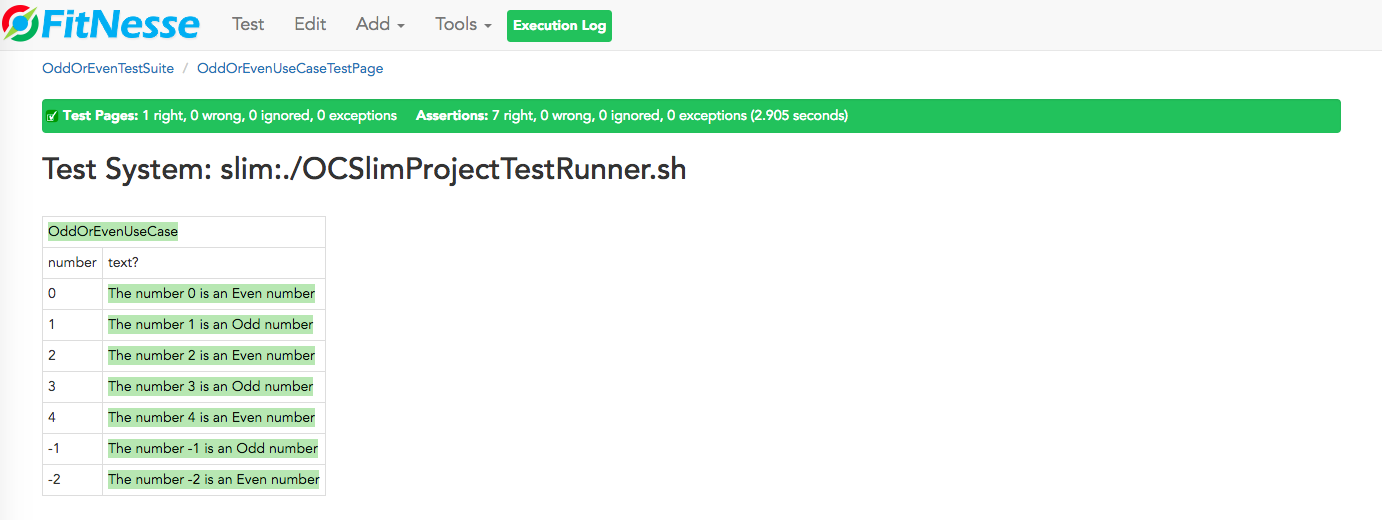
On the Xcode, click to run the Acceptance Tests. Then return to the browser and tap to run the tests again. We should now receive confirmation that our tests are passing.
Link to the code:
https://github.com/Fragki/OddOrEven-FitNesse

